1. Checking biochemical analyzer before use
First of all, you should check whether the probes and stirring rods of the biochemical machine are covered with water droplets and dirt, and whether they are bent and blocked.
Whether the amount of cleaning agent is enough. Generally full available for a week, but need to check every day. Whether the aspiration structure is leaking. Whether the waste liquid tank is full or not. Whether the printer is in the (ON) position. Whether the printer paper is enough.
2. Turn on the power of biochemical analyzer
Prepare the ion exchange water device and make distilled water for backup. Put the power switch of the main unit in the (ON) position. biochemical analyzer enters the preheating state.
3. Prepare reagents
Enter the reagent information program. Reagents with barcode labels can be read from the barcode for each item (type, batch number, expiration date, etc.).
Those without barcode can record the remaining reagent amount in the information program. Additional reagents can be added according to the specific specimen volume and items in the laboratory on that day. Close the reagent tray cover tightly after the addition. Then enter the test reagent program.
4. Sample registration and entry
For each sample registration, enter patient information such as patient ID, time of blood collection, gender, age, etc. if necessary. Select the items to be measured for that sample. Then press the Enter key to confirm.
If multiple samples are measured for the same item, batch registration can save a lot of time. After selecting the batch registration key, enter the measurement items and number of samples to confirm.
5. Prepare the sample
Store the prepared samples, quality control substances and standard solution in the sample tray (or sample holder).
6. Start analysis
When the biochemical analysis machine is in standby, select the start button. The instrument status will start from parameter check, reset, operation transfer, and analysis start in sequence. At the biochemical analyzer monitoring window, monitor the analysis status of the sample. Enter the (result printing) state after the measurement is finished. Cleaning of used reaction cups and probes. The biochemistry analyzer turns into the stop state.
7. Confirmation of calibration results
8. End of work
After the measurement results are printed, turn off the power. Turn off the power to the water tap and ion exchange water device. Do the end-of-work check.
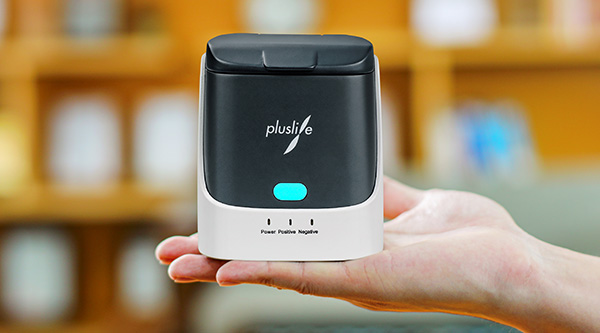
The above is how to use the biochemical analyzer. seamaty portable (
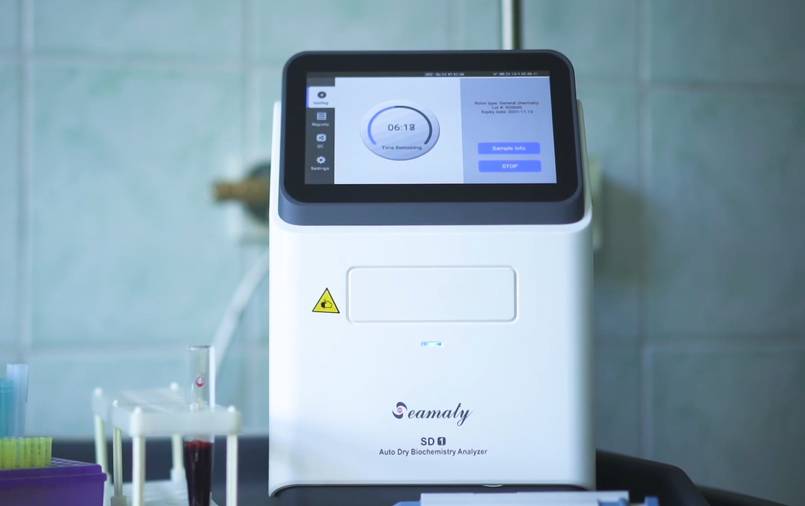
POCT) automatic biochemical analyzer is fully automated operation. seamaty dry biochemical analyzer has online fault diagnosis, network upgrade reminder function. It helps you to keep track of the operation of the instrument in real time.
For example,
SD1 fully automatic biochemical analyzer adopts the analytical principle and optical measurement technology of large desktop biochemistry. It also has a built-in real-time quality control system to ensure the accuracy of the test.
And seamaty portable biochemistry analyzer is easy to operate. No sample pre-treatment, no dilutions to add. Easy 3 steps, add sample, release sample, read results. Let the physician no longer worry about the complex operation of the instrument.