release time:2021-11-08 16:41:25

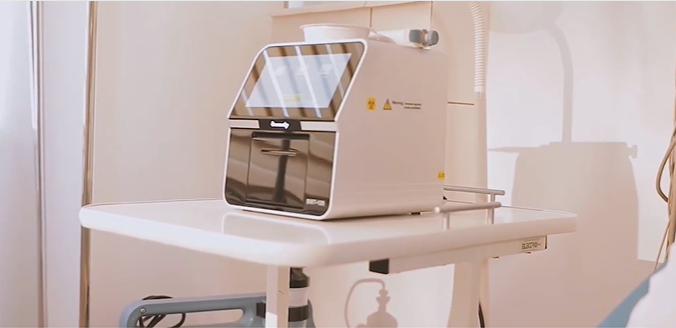
The built-in motor of the biochemical instrument drives the test disc at high speed. Under centrifugal force, the sample and diluent move towards the outer periphery away from the center of the test disc (built-in centrifugation). After a period of high-speed operation, the sample is separated into plasma against the center of the circle, a fixed volume, and blood cells against the periphery by a small centrifugal force (sample centrifugation for quantitative stratification). On the other hand, a certain volume of diluent is retained in the circular cavity. The rest enters the quality control chamber for comparable color assays and the excess diluent collection chamber.


2022-06-17
Dry chemistry analyzers are Point of Care Testing (POCT) devices used to measure various components in a blood sample. The most common use for these analyzers is to measure blood sugar levels, but they can also be used to test for other parameters such as hemoglobin levels and potassium levels.
2022-04-01
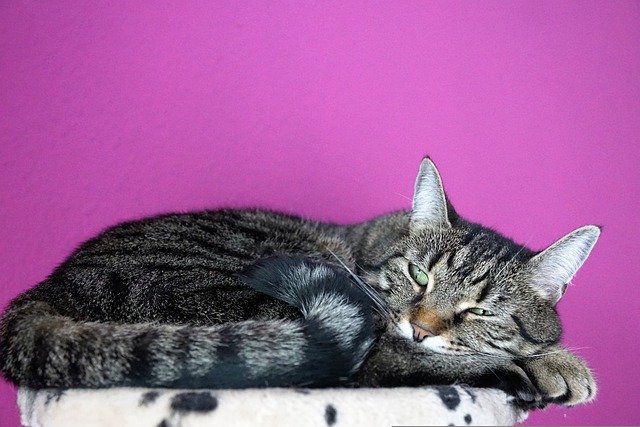
Biochemical testing is increasingly recognised by clinical veterinarians as an aid to the diagnosis and treatment of diabetes in cats. This article will briefly discuss the changes in the biochemical parameters during the course of diabetes in cats.
2021-11-08
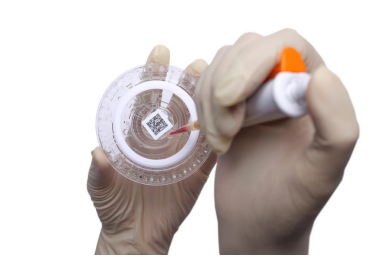
1)Add a sample volume of 100 μl to the reagent tray, with a permissible sample range of 90-120 μl (it is recommended that a blood volume of at least 250 μl be collected for review).2) The use of lithium heparin anticoagulation tubes is recommended for sample processing.
